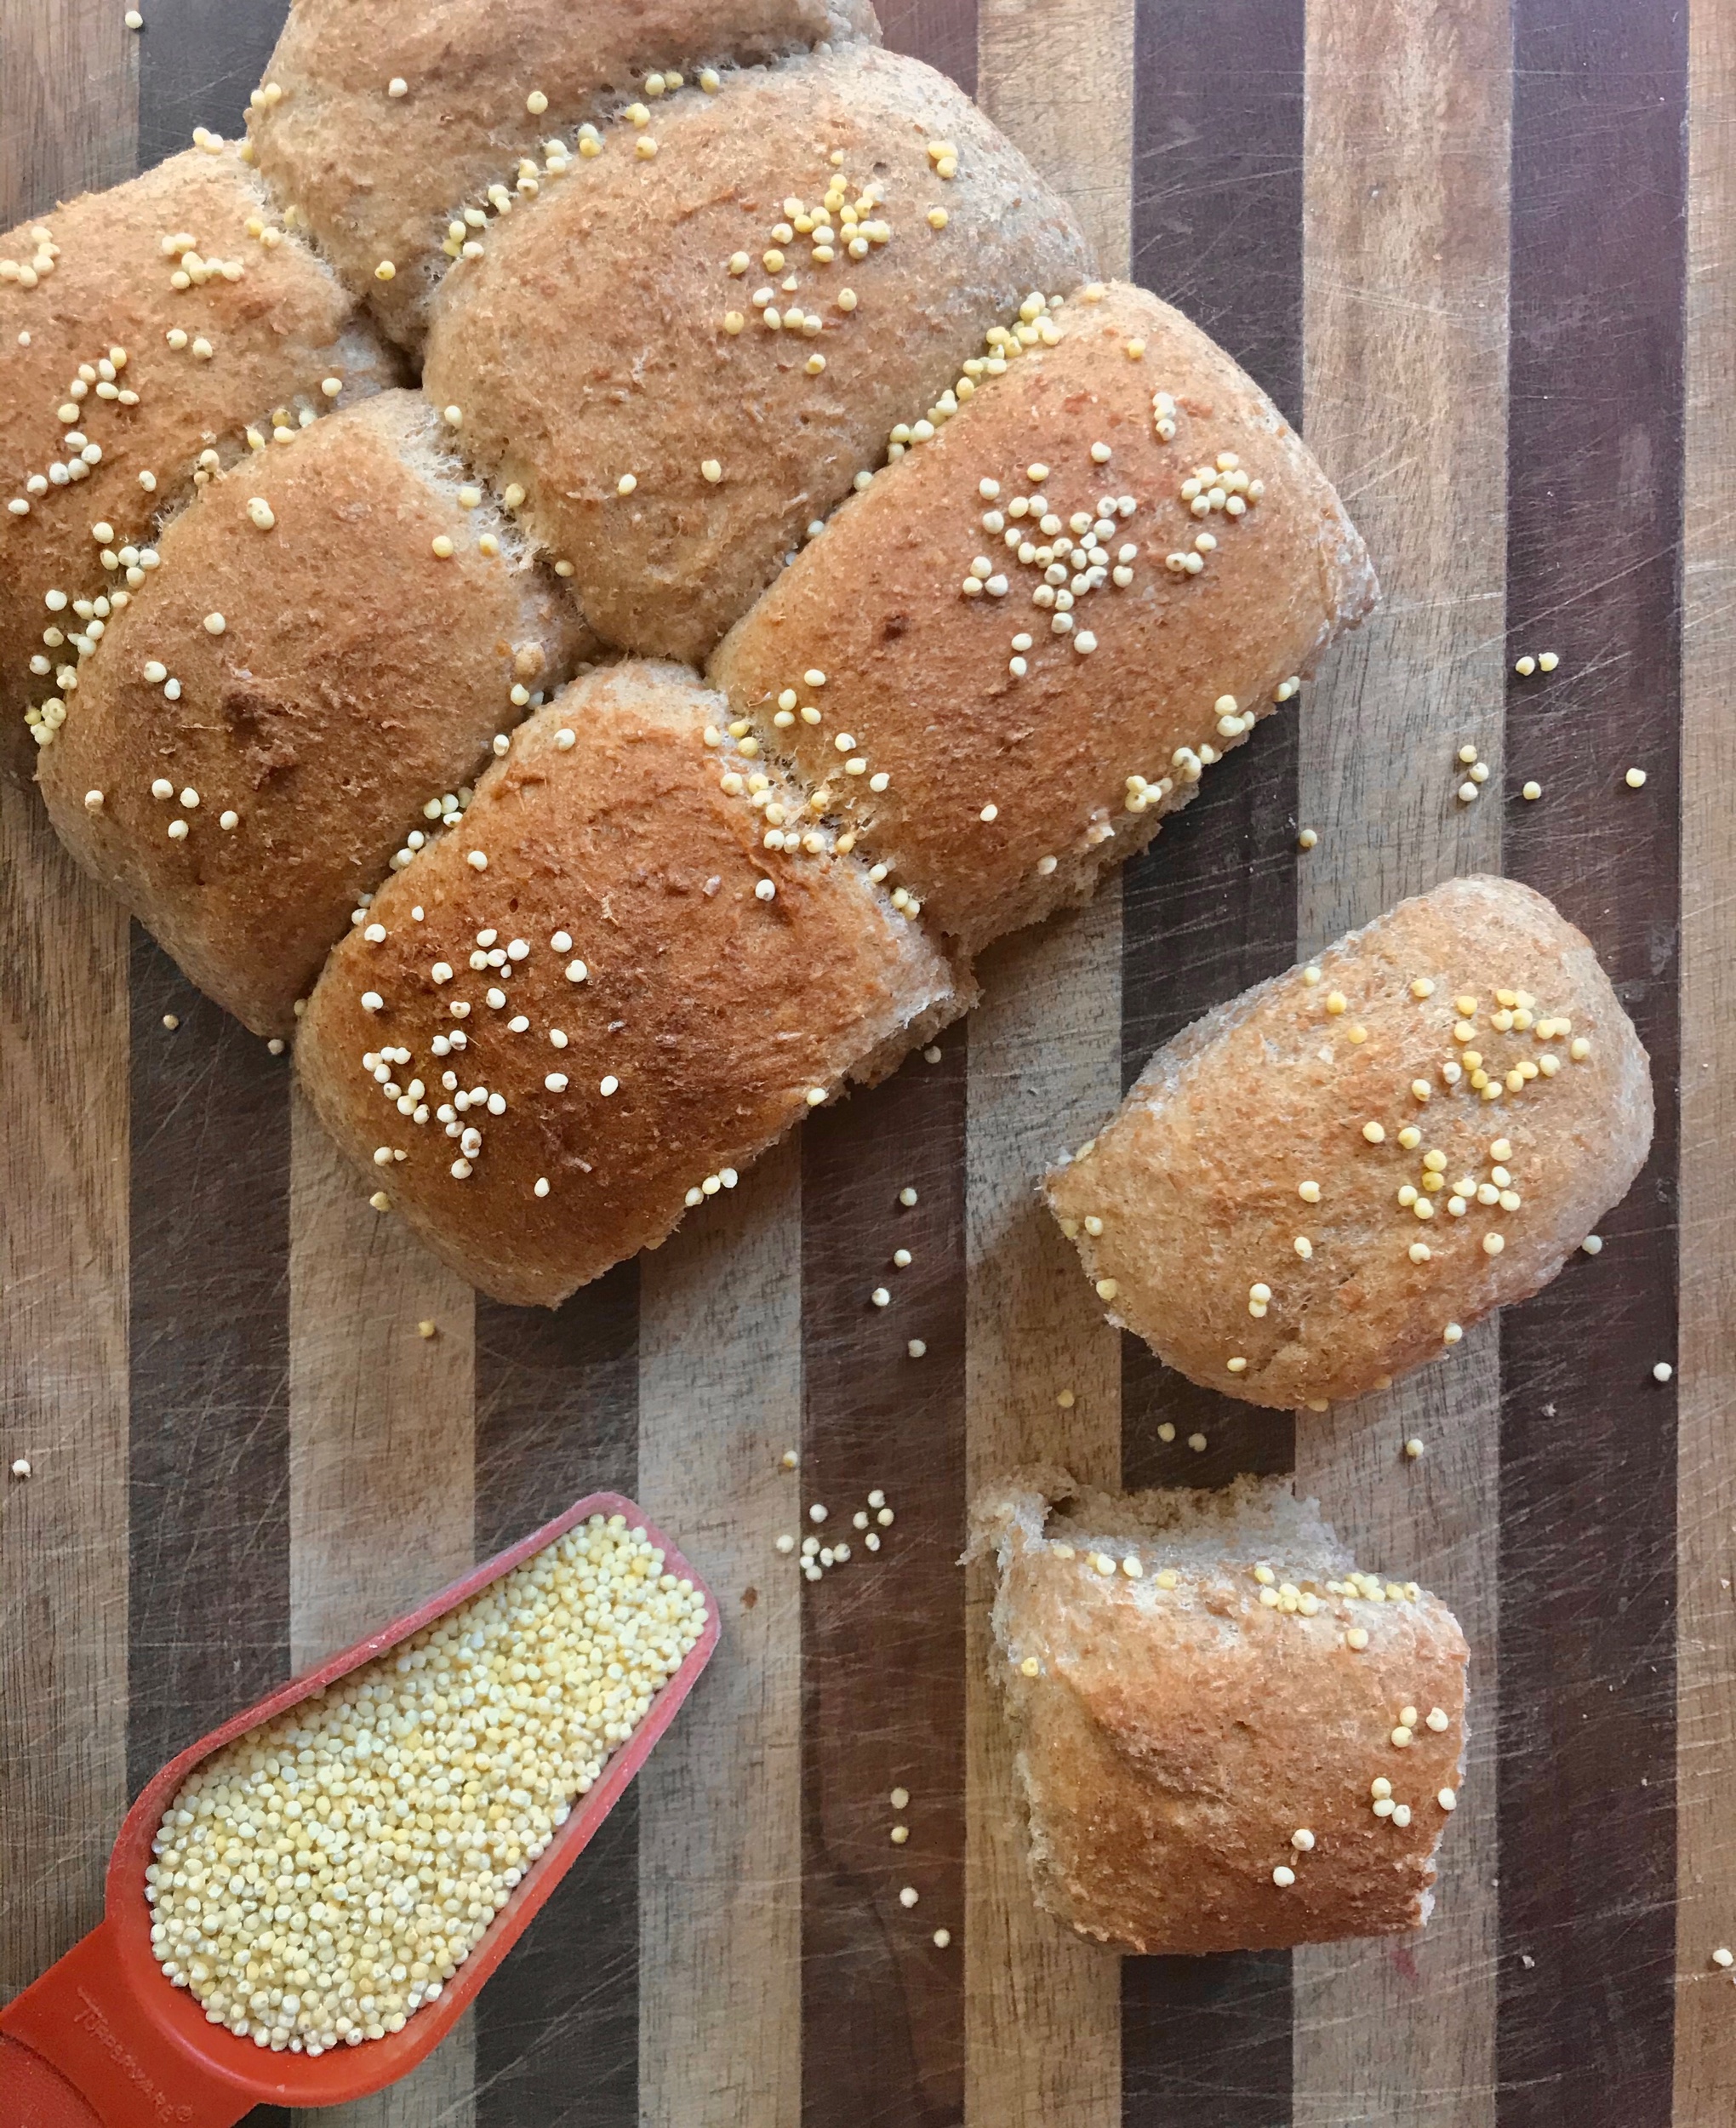
Hot Dog rolls
I have been really quiet for just over a year now. My creativity, however, continues to curiously trial and test recipes that are wonderful for my home.
Since I’ve last blogged, I’ve lost my mum and I now live as a family of three with my boyfriend and his daughter. A beautiful reality that I don’t take for granted.
You can imagine how I brim with excitement when it comes to packing lunch for us in the morning. Meals have evolved and I am slowly hitting my stride in the kitchen. A confident, positive season is in my midst and I couldn’t wait to share this simple hot dog recipe.
Yes, I utilized yeast and I know it sometimes can be intimidating to work with. But if you’ve played with play dough before, you’re able to knead this dough and wait for it to rise. It’s also a wonderful avenue to work out your stress. Trust me. I’ve smacked that dough rough some days and felt a whole lot better about life.
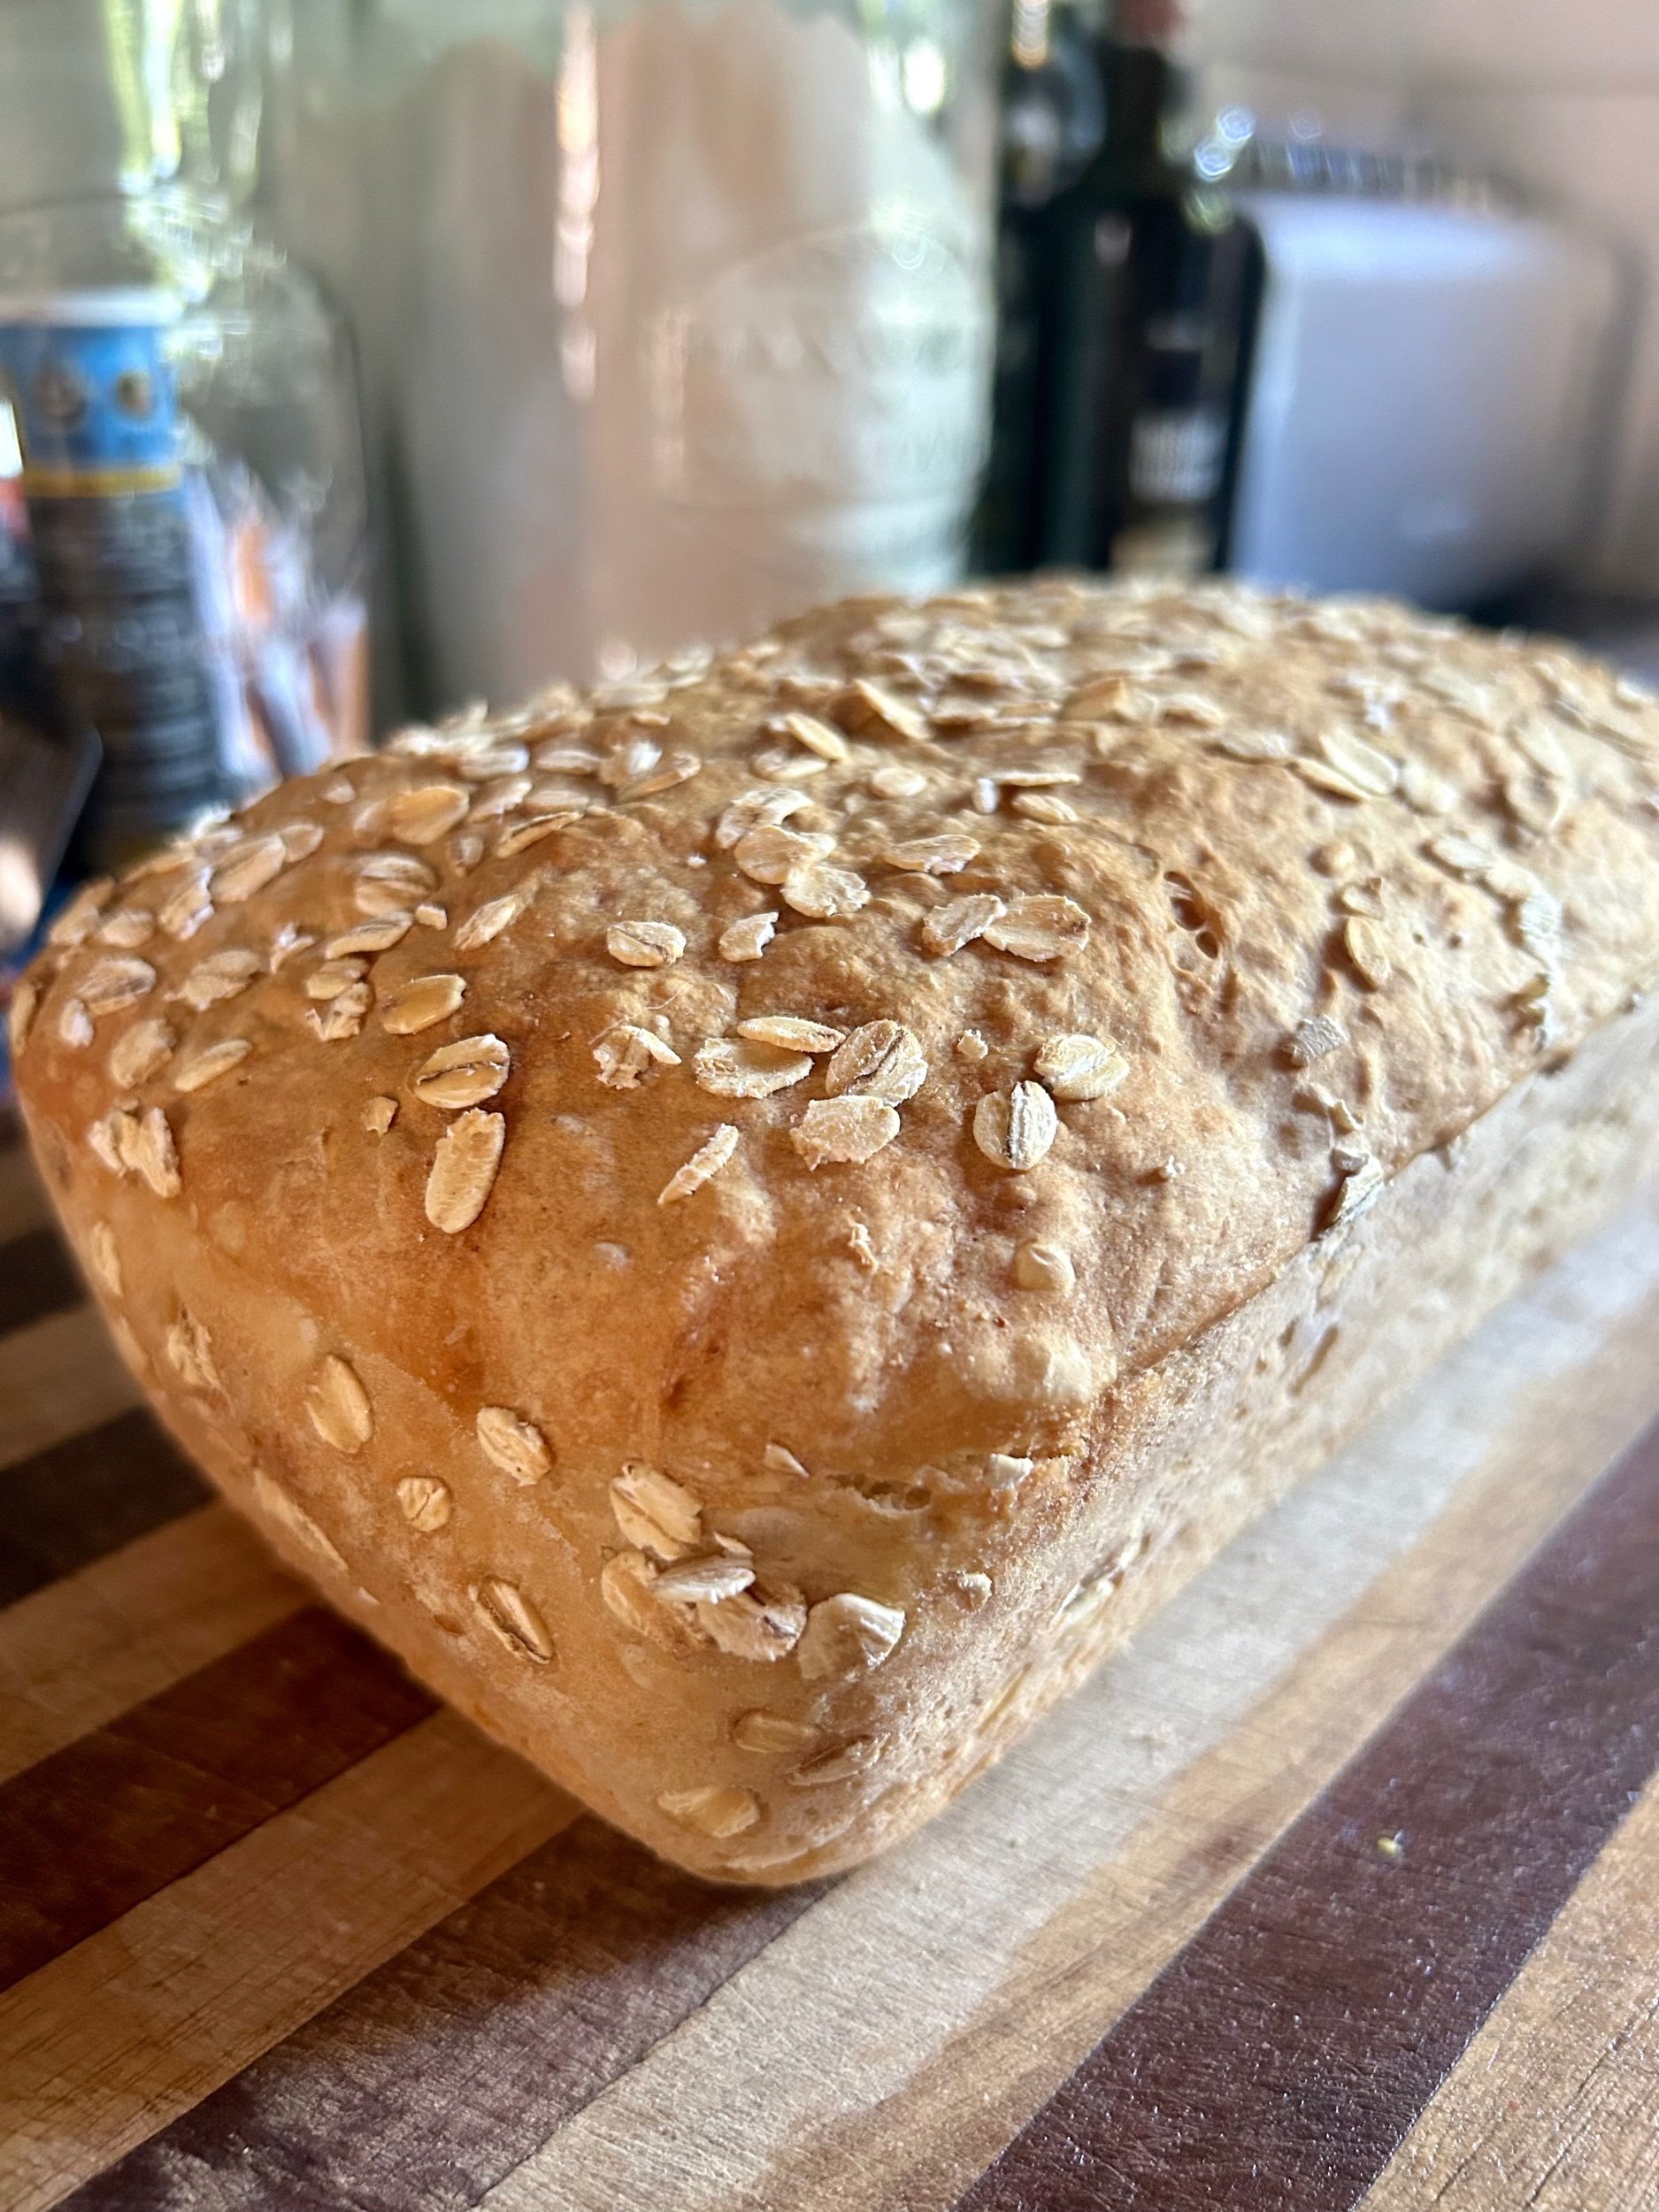
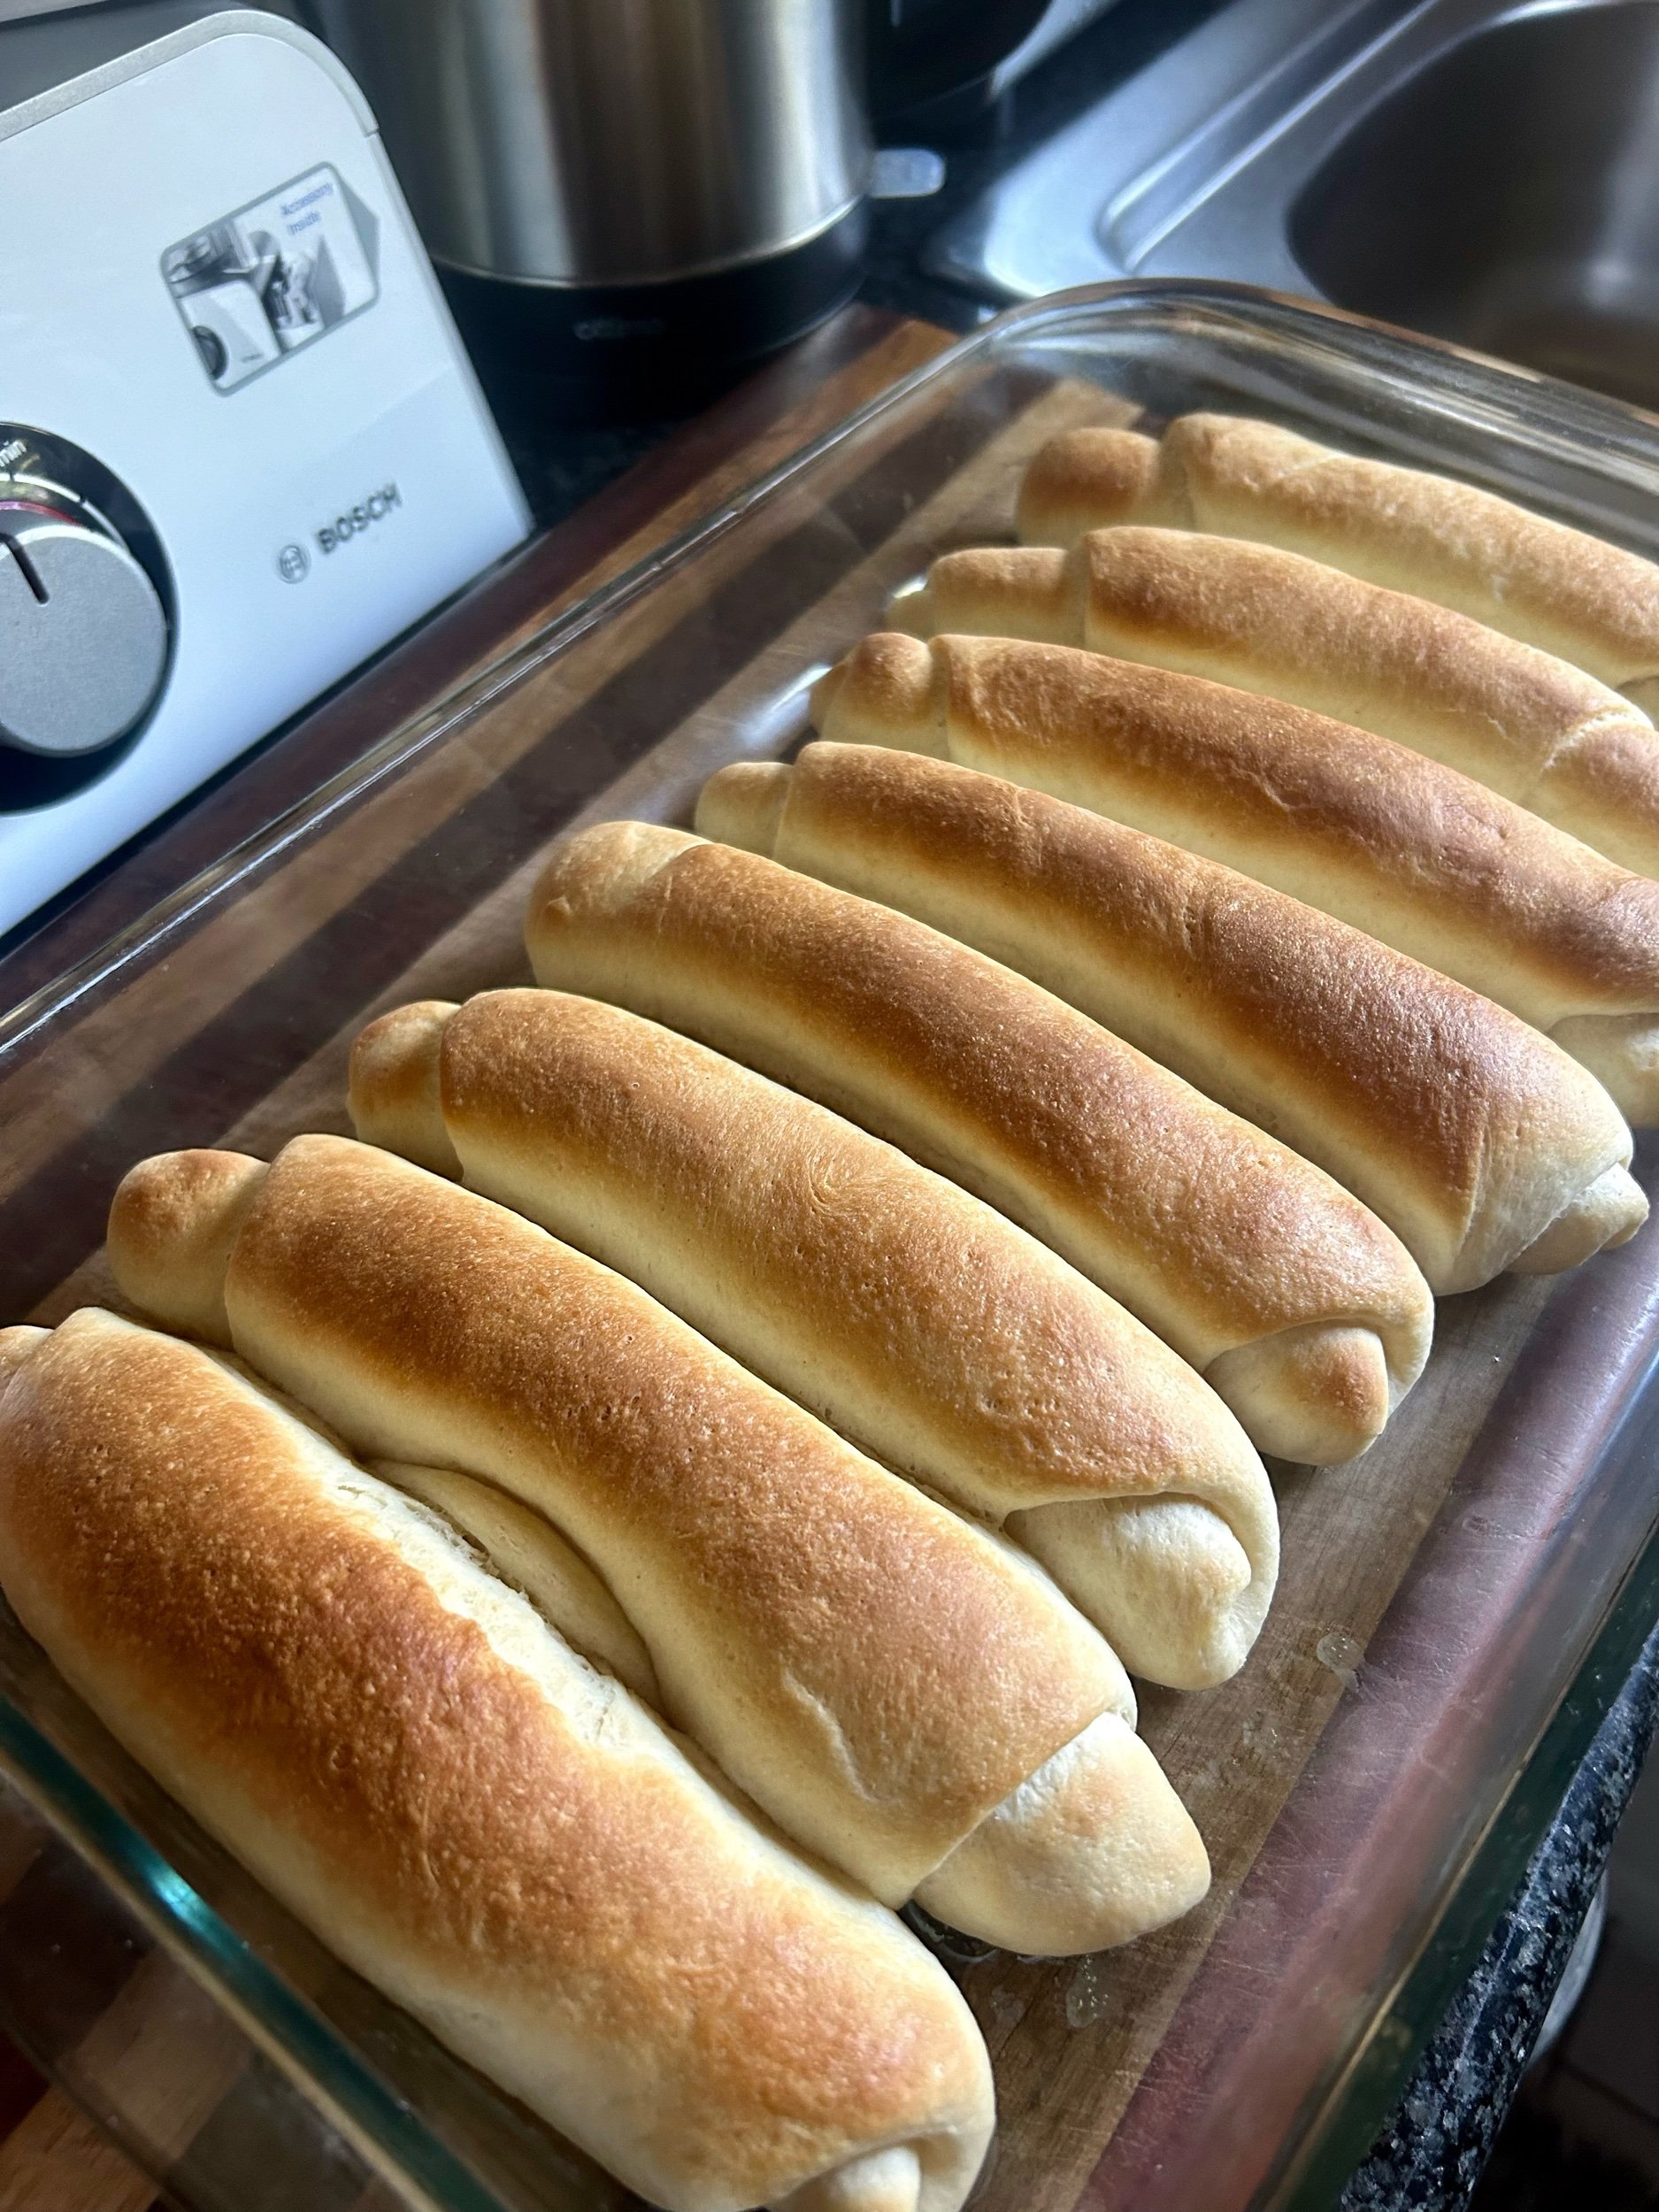
The roll is also very similar to a brioche. Has a buttery texture to it and is very soft.
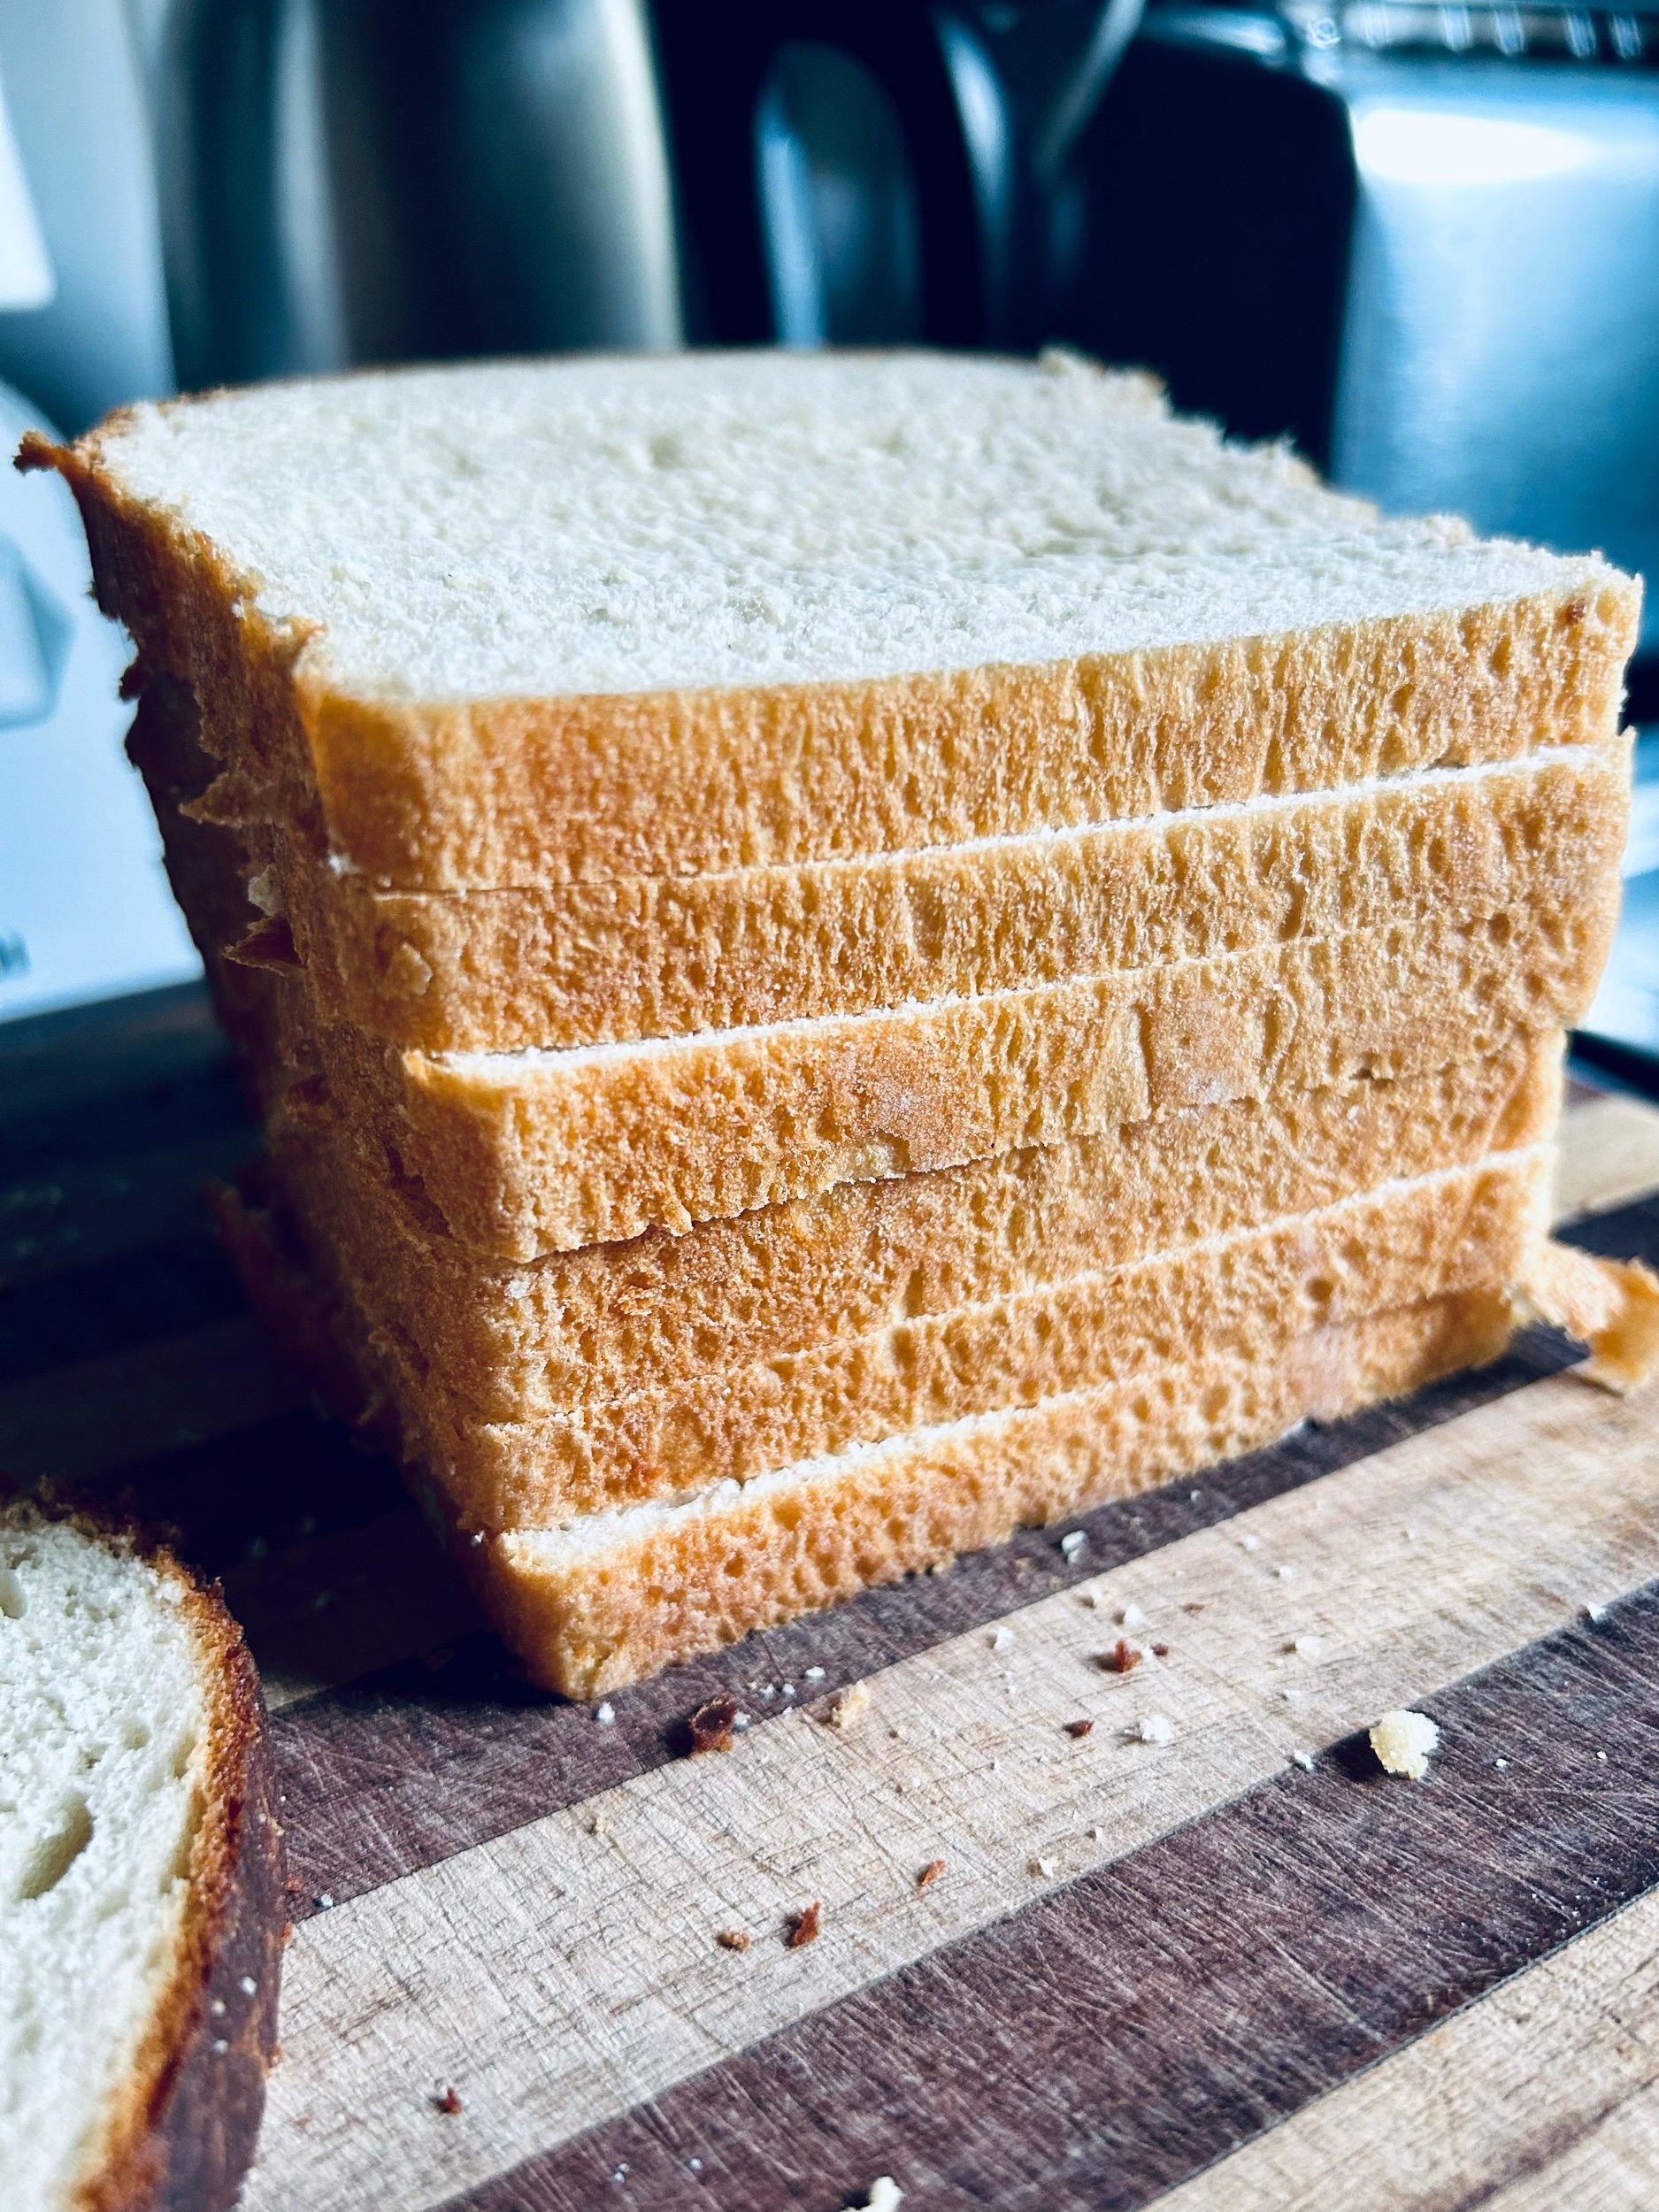
Top tips: When you test tepid water, use the back of your finger to see if the water is hot or warm. Yeast hates hot water, so if the temperature is a little off, it will affect your doughproofing. You also want to cut your rolls when they’re completely cool. Like steak, they need a bit of a rest time I believe.
Ingredients
2 cups stoneground white bread flour
1 packet of Instant yeast
2 tbsp sugar
1 tsp salt
1 cup tepid (warm) milk
2 tbsp melted butter cooled
Method
Mix the dry ingredients.
Add milk and butter.
Mix into a shaggy dough and knead well on a floured work surface.
I keep adding flour to the surface and kneading because the dough can be sticky.
Knead well for 10 minutes by folding and pressing down on the dough. It must look shiny and rise a little when you poke it. This is a sign of gluten.
Let the dough rest in an oiled dish covered with cling film for 1 hour. The dough must be kept in a warm part of your home. Not in direct sunlight.
After an hour, the dough would have risen to double its size. Punch it. Divide the dough into 6 large rolls or 8 smaller rolls. I usually make 8.
Flatten the ball with a rolling pin and, using the palms of your hand, roll it up into a cigar shape. The length is roughly the size of your hand. Place each thin, long roll next to each other on a greased baking tray.
Cover with a dish towel and let the rolls rise again for 30 minutes.
Preheat oven to 190 degrees.
Brush the rolls with melted butter before you put them into the oven.
Bake for roughly 15 minutes or until the tops start to brown.
I brush the rolls with butter the minute they’re out of the oven again and I let them cool for 10 minutes before cutting into them.
These rolls last well in the freezer if you freeze them the day you bake them.